

After the pictures were taken and uploaded i put these photos into photoshop i then started to cut around the students using the magnetic lasso tool. i did want to use magic wand tool and the select
colour feature however it did not give a satisfy result so i kept using the magnetic lasso tool. when the students were cut out i dragged and dropped all 10 students into a a big enough canvas for them all to fit into the frame.

After all 10 students were put into the photo i set each students brightness and contrast to a rate that matched so the poster would not look its best. i then change the size of the students having one student in the centre and having the rest at the sides gradually getting smaller and smaller. i then zoomed in with the magnifying glass and used the eraser tool to get rid of any ruff edges or used the blur tool for the edges that were not big enough to delete.
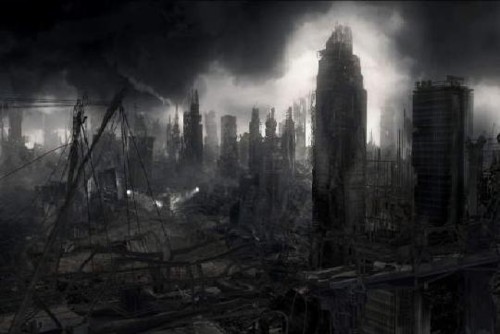
when the students were in the right position i then found a background image of a destroyed city and made this layer the bottom layer so it took over the blank white background. i cropped it into a size that fits into the image border.i then used the internet to get images of textured photos.


When these were downloaded i dragged and dropped these photos on top of the photo of the students and changed the layer setting to either soft light or overlay. when i was happy with the way the photos were arranged i darkened and lightened some of the textures and add filters once this was done i moved onto finding a font for the poster.
I went onto a font website called DAfonts.com and found a text called Broken Detroit.
http://www.dafont.com/broken-detroit.font
when all of the main editing was done for this poster it was time to make the poster seem more realistic to do this i used the internet to get the age certificate from the bbfc.

http://images2.wikia.nocookie.net/__cb20100225224907/gtawiki/images/5/5a/BBFC_18.png
Afterwards i was provided with a blurb for the poster where certain text should go on the posters such as directors names,tag lines,cast,crew and company who fund this movie. once all this text was written on and visible the final thing was to add the company logo of a famous movie company i used Paramount Pictures.

No comments:
Post a Comment